Introduction
In my previous post I described how to convert PDF file to image on Android device using Xamarin.Android.
While Android is an extremely popular operating system nowadays, we can’t forget about another important player on this market – the iOS, and recent WWDC brought us to iOS7, the os developers will be creating products for in upcoming year.
Having the Xamarin, it’s now possible to create apps for both platforms sharing huge amount of code and saving time on support and maintenance, and we are going to show you how to use ApitronPDF Rasterizer for .NET and create your own PDF conversion app for iOS.
Getting ready
If you are familiar with iOS development and Xamarin already, that’s great. But if you’re new to this world it might be useful to get the basic understanding of how it works.
Here you can read about Xamarin - http://xamarin.com/monotouch And here you can find a “Hello, world” sample to start and play with http://docs.xamarin.com/guides/ios/getting_started/hello%2C_world
Checking out the rasterizer sample
Note: The sample assumes that you have Xamarin tools installed, I used Xamarin Studio on Mac and ran the sample on iPhone Simulator 6.1 device. It should work fine if you use MS Visual Studio though.
- Download the latest Apitron PDF Rasterizer package from here , unzip, navigate to Samples/IosSampleProject and open a corresponding project.
- Select iPhone Simulator 6.1 in devices menu and click Run

Sample project opened in Xamarin Studio - When iPhone simulator opens you’ll see the app screen with brief description :

 |
| Main application screen |
Click “Start rendering”. App starts PDF file conversion (the file is included into the Application Bundle for demo).
4. Once the conversion is finished you’ll see a notification message:
5. Press "Home" and navigate to Photos, in Saved photos album you’ll see the resulting image:
4. Once the conversion is finished you’ll see a notification message:
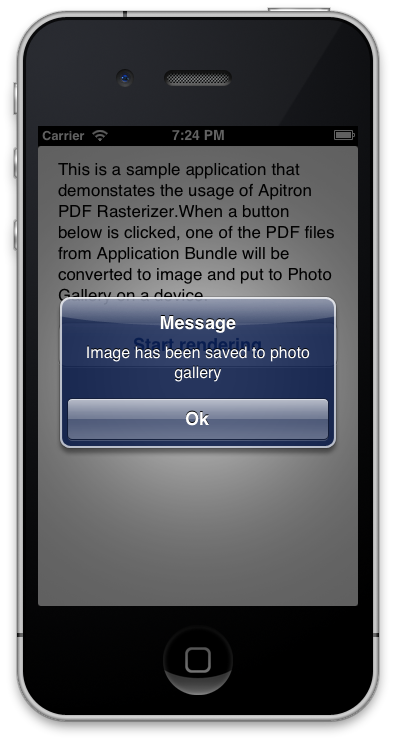 |
| Finished processing |
 |
| Converted image preview |
That’s it! See “The Code” section below for code overview.
The code
Here is sample code that handles the button click event and does conversion:
// open a PDF file from app bundle
using(Stream stream = File.OpenRead(Path.Combine(NSBundle.MainBundle.BundlePath,"testfile.pdf")))
{
// construct the document
Document doc = new Document (stream);
// we are going to render first page from the document
Page page = doc.Pages [0];
int w = (int)page.Width;
int h = (int)page.Height;
// render the page to a raw bitmap data represented by byte array
byte[] imageData = ConvertBGRAtoRGBA(page.RenderAsBytes (w,h, new RenderingSettings (), null));
// create CGDataProvider which will serve CGImage creation
CGDataProvider dataProvider = new CGDataProvider (imageData, 0, imageData.Length);
// create core graphics image using data provider created above, note that
// we use CGImageAlphaInfo.Last(ARGB) pixel format
CGImage cgImage = new CGImage(w,h,8,32,w*4,CGColorSpace.CreateDeviceRGB(),CGImageAlphaInfo.Last,dataProvider,null,false, CGColorRenderingIntent.Default);
// create UIImage and save it to gallery
UIImage finalImage = new UIImage (cgImage);
finalImage.SaveToPhotosAlbum (null);
// show notification message
UIAlertView view = new UIAlertView ("Message",string.Format("Image has been saved to photo gallery"),null,"Ok",null);
view.Show ();
}
Complete code can be found in [Component Package]\Samples\IosSampleProject folder.
No comments:
Post a Comment